
BMI is over 40 (Obese Class 3 : Morbid Obesity)
**With a BMI of 40+ you have an extremely high risk of weight-related disease and premature death. Indeed, you may have already been suffering from a weight-related condition. For the sake of your health it is very important to see your doctor and get specialists help for your condition.**
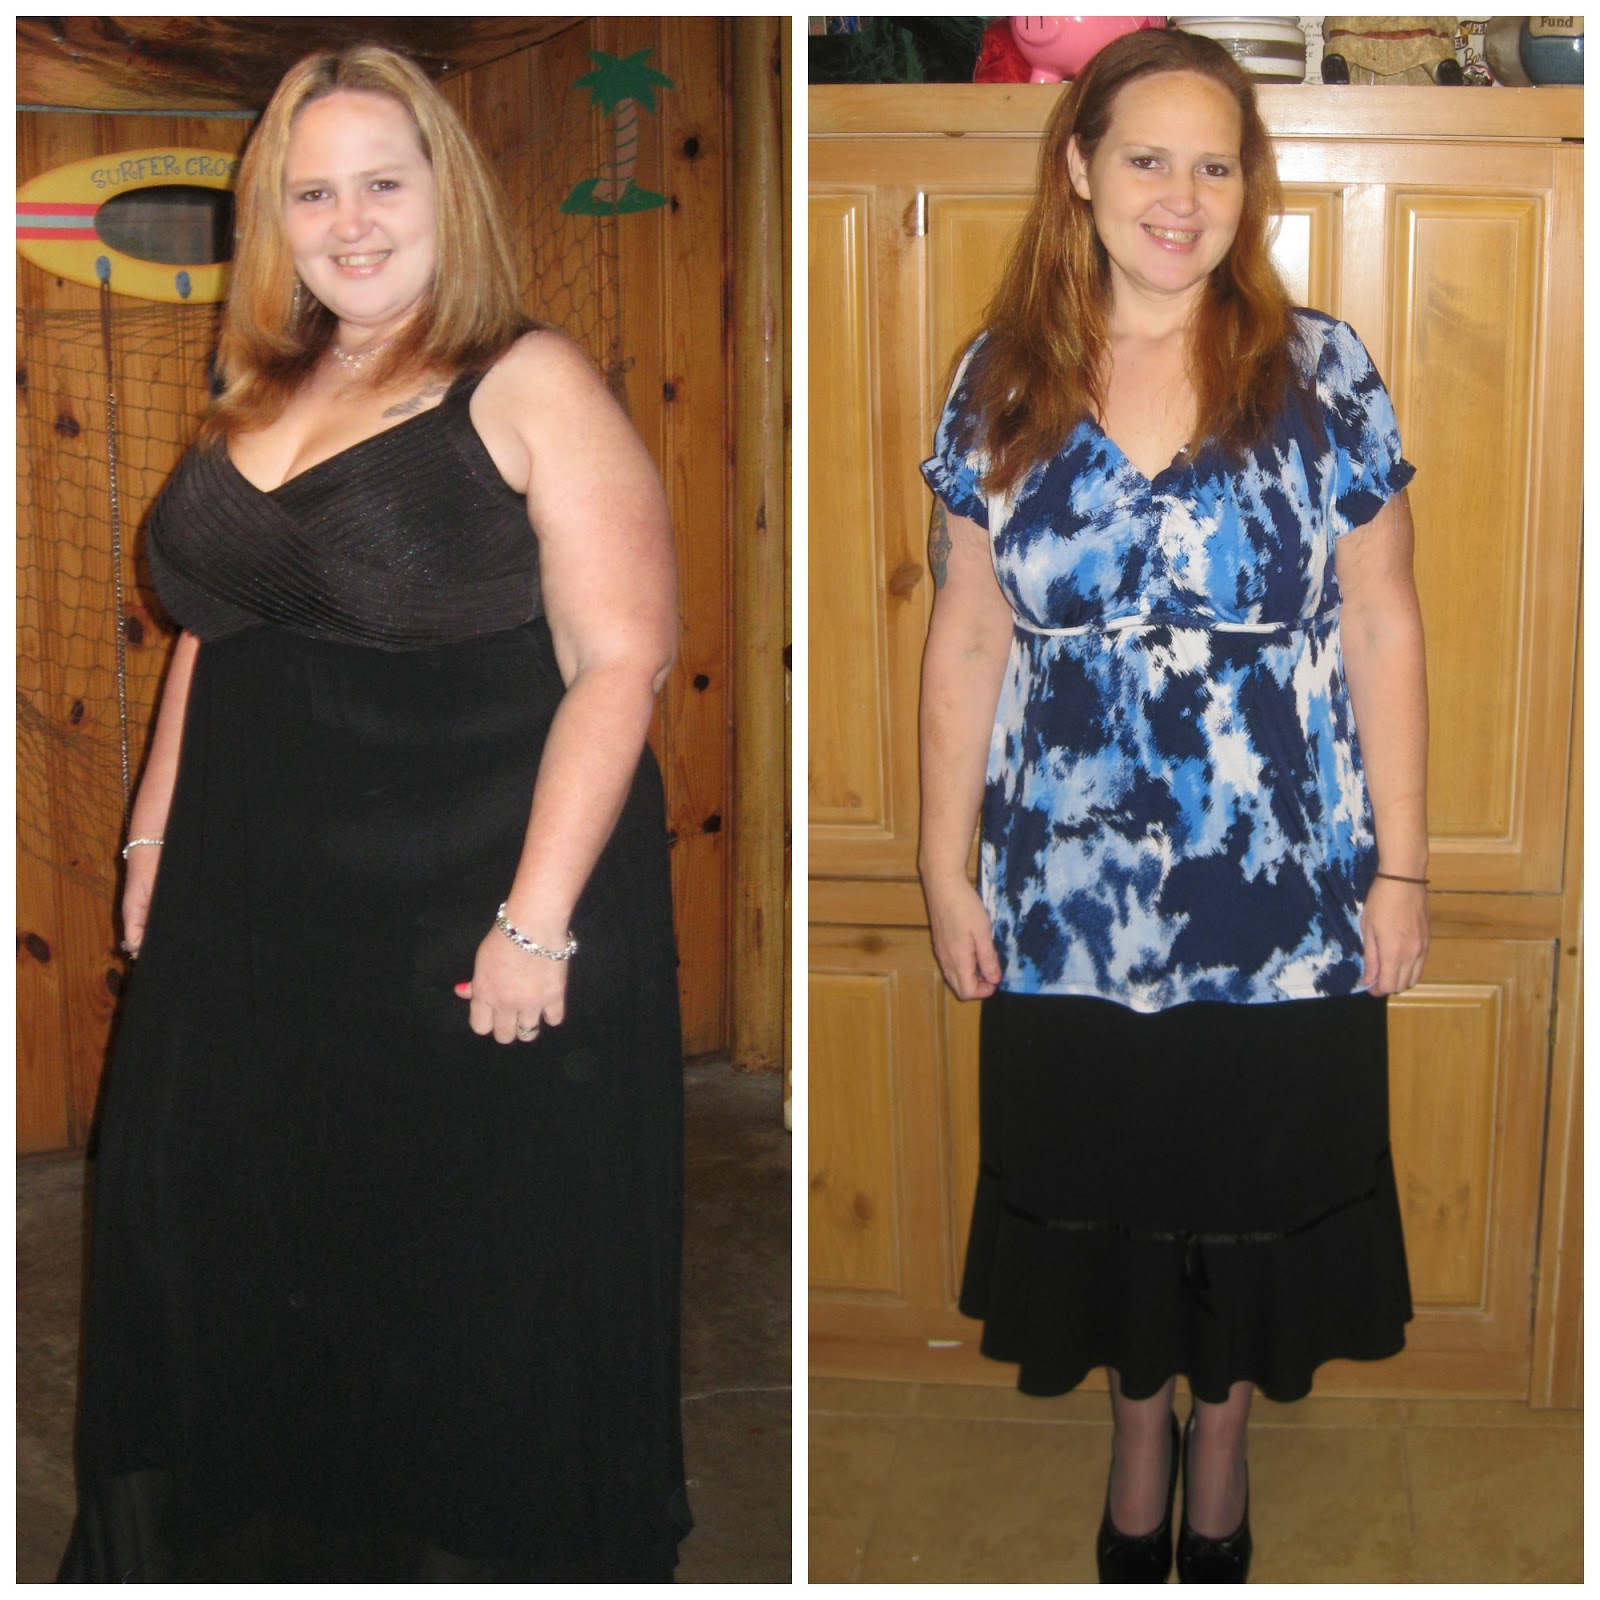
After surgery not only have I kept track of my weight, I have also tracked my BMI very closely.
BMI (Body Mass Index) is a measurement of body fat based on height and weight that applies to both men and women between the ages of 18 and 65 years.
BMI can be used to indicate if you are overweight, obese, underweight or normal. A healthy BMI score is between 20 and 25. A score below 20 indicates that you may be underweight; a value above 25 indicates that you may be overweight.
As of today My BMI is now 24.9 and that means I am no longer overweight!!!

BMI 's between 18.5 and 24.9 (Normal Weight)
**People whose BMI is within 18.5 to 24.9 possess the ideal amount of body weight, associated with living longest, the lowest incidence of serious illness, as well as being perceived as more physically attractive than people with BMI in higher or lower ranges. However, it may be a good idea to check your Waist Circumference and keep it within the recommended limits.**
As the BMI calculator suggested I then checked my waist circumference which now is 33 inches. I wish I had done this before so that I would have a past measurement to compare with. My next step was to check my waist to hip ratio.
Your waist to hip ratio is an important tool that helps you determine your overall health risk. People with more weight around their waist are at greater risk of lifestyle related diseases such as heart disease and diabetes than those with weight around their hips. It is a simple and useful measure of fat distribution.
Use a measuring tape to check the waist and hip measurements.
- Measure your hip circumference at its widest part.
- Measure your Waist Circumference at the belly button or just above it.
The Waist to Hip Ratio Calculator indicates your probable health risks. People with more weight around the waist, face more health risks than people who carry more weight around their hips.
My waist as I said measures at 33 inches and my hips are now at 41 inches. My ratio came out to be a 0.8.
| Waist to Hip Ratio Chart | ||
|---|---|---|
| Male | Female | Health Risk Based Solely on WHR |
| 0.95 or below | 0.80 or below | Low Risk |
| 0.96 to 1.0 | 0.81 to 0.85 | Moderate Risk |
| 1.0+ | 0.85+ | High Risk |
Your health is not only affected by how much body fat you have, but also by where most of the fat is located on your body. People who tend to gain weight mostly in their hips and buttocks have roughly a pear body shape, while people who tend to gain weight mostly in the abdomen have more of an apple body shape.
If you have an apple shaped body rather than a pear shaped body, you are at increased risk for the health problems associated with obesity, such as diabetes, coronary heart disease and high blood pressure - that's something you inherited, and have had since birth - but you can take special care to keep your weight at a healthy level, eat nutritiously, exercise as appropriate, and maintain other healthy lifestyle habits.
As long as you avoid excess weight, being an apple shaped body or a pear shaped body doesn't put you at special risk - it's just one of those things to keep in mind. And even pear shaped people should take particular care to keep their weight within normal limits, to avoid the health problems associated with obesity.
I personally have a pear shaped body as you can see in my photo above.
People with a Pear Body Shape have hips wider than their shoulders because their bodies store fat there and on the thighs. Pear shaped bodies carry their extra weight below the waistline, and do not seem to have as high a risk of developing health problems like diabetes, heart disease, stroke, high blood pressure, ... than people with an Apple Body Shape.
Pear shaped people usually lose fat in the upper body, so their overall shape doesn't change much when they lose weight.
I was a little disappointed to read that my body won't change to much with weight loss but that still won't deter me from hitting my goal weight. I am shopping around and researching the possibility of having a full body lift about 6 mos or longer after reaching the weight I like. right now my goal weight is 130 pounds but I may go back to my original goal weight of 120 pounds.
Right now I have 10 pounds to go and I'm pretty sure these will be the hardest 10 pounds to loose in my life. But as always I am keeping my eye on the prize. Wish me luck!!! :)